The Science of Hardening Off: Preventing Transplant Shock in Late Spring Heat

How Do You Harden Off Seedlings to Prevent Transplant Shock in Late Spring Heat?
For gardeners, late spring is a season of profound optimism. The risk of frost has passed, the soil is warming, and countertops are crowded with vibrant seedlings started weeks ago with care and anticipation. The final step—transplanting these tender plants into their permanent garden homes—should be a moment of triumph. However, an increasingly common challenge threatens this crucial transition: the sudden arrival of intense, summer-like heat. A late May or early June heatwave can be more devastating to young transplants than a late frost. The process of acclimating these plants, known as hardening off, is often understood in the context of cold temperatures, but adapting its principles for heat is a distinct and vital skill. This process is not merely about exposing plants to the outdoors; it is a carefully managed physiological conditioning program. Understanding the science behind how a seedling responds to heat, light, and water stress is the key to preventing transplant shock, ensuring vigorous growth, and securing the bountiful harvest you've planned for. In this comprehensive guide, we will delve into the cellular mechanisms of heat hardening, provide a detailed schedule for success, and explore advanced strategies to protect your investment from the scorching sun.
What is the physiological difference between hardening off for cold versus late spring heat?
While both processes are forms of abiotic stress acclimation, their underlying physiological goals are fundamentally different. The plant's toolkit for survival is vast, but it deploys specific tools for specific threats.
Cold Acclimation: The Anti-Freeze Strategy
When a seedling is gradually exposed to cooler temperatures, it initiates a process called cold acclimation. The primary objective is to prevent intracellular ice formation, which is lethal to cells.
- Solute Accumulation: The plant actively increases the concentration of soluble sugars (like sucrose and fructose) and amino acids (notably proline) within its cells. This lowers the freezing point of the cytoplasm, much like salt on a winter road.
- Membrane Modification: Cell membranes are composed of a lipid bilayer. In cold temperatures, these lipids can become rigid and brittle, losing their function. During cold hardening, the plant incorporates more unsaturated fatty acids into its membranes, increasing their fluidity and allowing them to function properly at lower temperatures.
- Hormonal Signaling: The plant hormone abscisic acid (ABA) plays a crucial role in signaling the onset of cold stress, triggering the genetic pathways responsible for these protective changes.
Heat Acclimation: The Damage Control & Water Conservation Strategy
Hardening for high heat is a race to mitigate damage from thermal stress and prevent catastrophic water loss (desiccation).
- Heat Shock Proteins (HSPs): When exposed to high temperatures, plants rapidly synthesize a class of proteins known as HSPs. These act as 'molecular chaperones,' binding to other essential proteins and enzymes to prevent them from losing their three-dimensional shape (denaturing) and becoming non-functional. This is a primary defense against heat damage at the molecular level.
- Cuticle Thickening: The outermost layer of a leaf is the cuticle, a waxy layer made of cutin. Exposure to high light intensity and UV radiation stimulates the plant to produce a thicker, waxier cuticle. This serves two purposes: it reflects a portion of the incoming solar radiation, and more importantly, it creates a more effective barrier against evaporative water loss from the leaf surface.
- Stomatal Regulation: The plant learns to be more efficient with its stomata—the small pores on the leaf surface that regulate gas exchange and water transpiration. A heat-hardened plant will be more responsive, closing its stomata more quickly during peak heat to conserve water, even at the cost of reduced carbon dioxide intake for photosynthesis.
- Root System Development: Gradual exposure to drier conditions during hardening off encourages the plant to allocate more resources to root growth, developing a more extensive network to find and absorb water, a critical adaptation for when it is transplanted into the garden.
| Feature | Cold Hardening | Heat Hardening |
|---|---|---|
| Primary Goal | Prevent cell freezing | Prevent protein denaturation & desiccation |
| Key Molecules | Sugars, Proline, Unsaturated Lipids | Heat Shock Proteins (HSPs), Cutin Wax |
| Cellular Focus | Cytoplasm freezing point, Membrane fluidity | Protein stability, Water retention |
| Visible Changes | Slower growth, sometimes purplish tint | Thicker, tougher, slightly leathery leaves |
| Hormonal Trigger | Abscisic Acid (ABA) | Salicylic Acid, Ethylene |
Understanding these distinctions is crucial for gardeners. Simply moving a plant outside into the sun without a proper heat-acclimation period fails to trigger the necessary production of HSPs and cuticle thickening, leaving it completely vulnerable. This is a key reason why even experienced gardeners who master cold hardening can be caught off guard by a sudden spring heatwave, a situation that can be particularly frustrating for those trying to stop heirloom lettuce and spinach from bolting in late May.
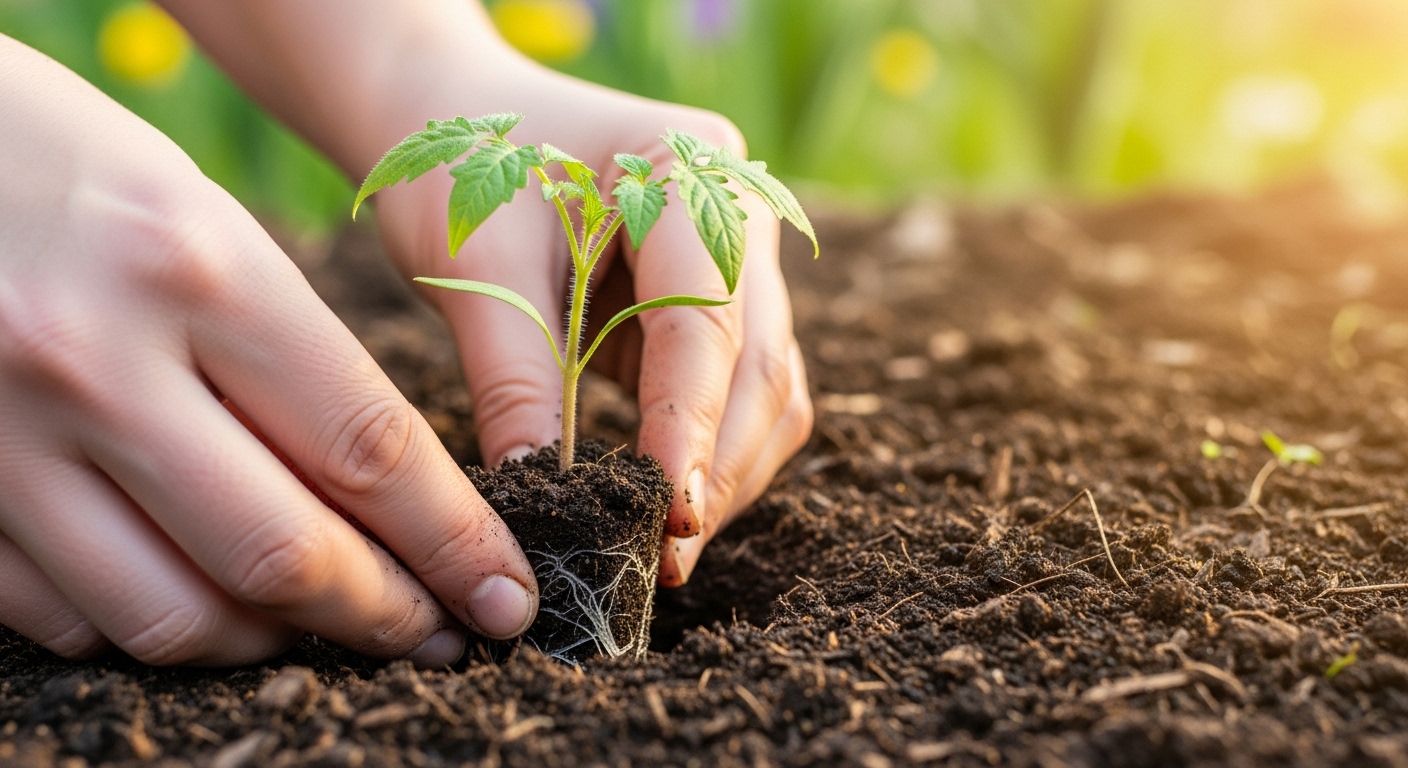
How does extreme late spring heat trigger transplant shock in young seedlings?
Transplant shock is not a disease, but a state of physiological distress caused by an abrupt change in environment. In the context of late spring heat, it's a perfect storm of environmental demand overwhelming the plant's supply capabilities.
The Transpiration-Absorption Imbalance
The core of the issue lies in the plant's water budget. Think of it as a simple equation:
Plant Hydration = Water Absorption (Roots) - Water Transpiration (Leaves)
When a plant is healthy and established, these two rates are in a dynamic equilibrium. However, transplanting and heat throw this balance into chaos.
- Skyrocketing Transpiration: Heat, low humidity, and direct sunlight dramatically increase the rate of transpiration. The plant opens its stomata to take in CO2 for photosynthesis, but water vapor rushes out in the process. This evaporative cooling is beneficial to a point, but in extreme heat, it becomes a liability, like an engine running without coolant.
- Crippled Absorption: The process of removing a seedling from its tray, no matter how carefully, inevitably damages or destroys many of the fine root hairs. These microscopic structures are responsible for the vast majority of water and nutrient uptake. The plant is essentially moved into a high-demand environment with a severely compromised supply line.
The result is a severe net water loss. The plant is losing water through its leaves far faster than its damaged roots can pull it from the soil. This leads to a loss of turgor pressure—the internal water pressure that keeps plant cells rigid. Without it, the plant wilts.
Cellular and Photosynthetic Collapse
The problem extends beyond simple wilting. This water deficit triggers a cascade of negative effects:
- Stomatal Closure: As a desperate act of self-preservation, the plant will close its stomata to stop water loss. While this is necessary, it also cuts off the supply of CO2, effectively shutting down photosynthesis. The plant stops producing energy and enters survival mode.
- Oxidative Stress: The intense solar energy that can no longer be used for photosynthesis (due to lack of CO2) has to go somewhere. It can generate reactive oxygen species (ROS), or "free radicals," which damage cell membranes, proteins, and even DNA. This is the cellular-level equivalent of a sunburn.
- Root Function Failure: The roots themselves are suffering. If the surrounding soil becomes too hot, their metabolic functions slow down or cease entirely. They cannot actively transport nutrients and water even if it is available. This is a critical factor we will explore further down.
For anyone who has followed a guide for definitive seed starting, seeing your perfect seedlings collapse from heat shock is a heartbreaking experience. It underscores that growing the seedling is only half the battle; the transition to the garden is where success is truly won or lost.
What are the primary symptoms of heat-induced transplant shock and leaf sunburn?
Identifying the symptoms correctly is the first step toward intervention. It's important to distinguish between the general wilting of transplant shock and the direct tissue damage of sunburn, though they often occur together.
Differentiating the Symptoms
| Symptom | Description | Primary Cause | Common Appearance |
|---|---|---|---|
| Wilting / Flaccidity | The entire plant, or significant portions, appear limp, droopy, and lifeless. Stems and leaf petioles lose their rigidity. | Systemic water deficit (transpiration > absorption). Loss of turgor pressure in all cells. | Affects the whole plant, often most dramatic during the hottest part of the day. |
| Sunburn (Solarization) | Localized patches on leaves turn white, translucent, or yellow. The tissue in these areas is dead. | Photo-oxidation. Intense light and UV radiation destroy chlorophyll faster than the plant can use the energy. | Occurs on the uppermost leaves or the surfaces facing the strongest sun (typically the south/west side). |
| Leaf Scorch | The edges and tips of the leaves turn brown, dry, and crispy. | Water deficit is most acute at the extremities of the leaf's vascular system. | Appears as a distinct 'burnt' margin around the leaf, while the center may remain green. |
| Leaf Curling / Cupping | Leaves curl upwards or downwards at the edges. | A plant's defense mechanism to reduce the surface area exposed to the sun and wind, thereby reducing water loss. | Can be an early warning sign before severe wilting sets in. |
| Stunted Growth | The plant completely stops growing. No new leaves or stems appear. | The plant has shifted all its energy from growth to survival, shutting down non-essential functions. | This is a longer-term symptom, noticeable after several days of stress. |
It is crucial not to misdiagnose these symptoms. For example, wilting in hot weather with dry soil indicates a need for water. However, wilting with moist soil is the classic sign of transplant shock—the roots are unable to absorb the water that is present. Adding more water in this scenario can lead to root rot, compounding the problem. Careful observation of your plants, combined with a quick check of soil moisture a few inches down, is the key to a correct diagnosis.
What is the step-by-step schedule to safely harden off seedlings in high-heat conditions?
A rigid, one-size-fits-all schedule is a recipe for failure. The ideal hardening-off process is a responsive dance with the weather and your specific plants. The following 14-day schedule is a robust template that should be adapted based on your observations. Always check the weather forecast before you begin; avoid starting the process right before a major heatwave or severe storm.
The 14-Day Heat Hardening Schedule
| Day | Exposure Location | Duration | Key Actions & Observations |
|---|---|---|---|
| Day 1-2 | Full shade, protected from wind (e.g., on a covered porch, under a large tree). | 1-2 hours | Purely about acclimating to ambient temperature and air movement. Bring indoors at night. |
| Day 3-4 | Dappled morning sunlight. | 2-3 hours | Find a spot that gets filtered sun before 10 AM. Watch for any signs of wilting. |
| Day 5-6 | Direct morning sun (until ~11 AM). | 4-5 hours | This is the first real test. The plant should remain turgid. Start to let the soil surface dry slightly between waterings. |
| Day 7-8 | Direct sun until early afternoon (~1 PM). | 6-7 hours | The plant is now experiencing some heat. Check soil moisture carefully. The goal is moist, not saturated. |
| Day 9-10 | Direct sun until mid-afternoon (~3 PM). | 7-8 hours | If temperatures are moderate (below 85°F / 29°C), the plants should handle this. If a heatwave hits, revert to morning sun only. |
| Day 11-12 | Full sun exposure, but return to a sheltered spot in the late afternoon. | All day | The plant is building significant resilience. If nighttime temperatures are above 50°F (10°C), you can leave them out overnight. |
| Day 13 | Full sun exposure all day. | All day/night | The plant should now look strong and show no signs of wilting during the day. |
| Day 14 | Full sun exposure. Ready for transplanting. | All day/night | Transplant Day. Choose to plant in the late afternoon or on an overcast day to give the plant the cool nighttime hours to settle in before facing its first full day of sun. |
Critical Considerations for this Schedule:
- Watering: During the hardening-off period, you are also weaning the plant off the constant moisture of a seed tray. Water thoroughly, but then allow the top inch of soil to dry out. This encourages roots to grow deeper in search of water.
- Wind: Wind is an invisible stressor that can desiccate a seedling faster than sun. Always start the process in a location protected from strong gusts.
- Flexibility: If you see any wilting, immediately move the plant back into the shade. It's a sign you've pushed it too far, too fast. Let it recover and try again the next day with a shorter duration. There is no prize for rushing this process.
- Planning: Use tools like our Planting Calendar to cross-reference your transplant dates with typical weather patterns and long-range forecasts for your specific location.
How can raised bed microclimates be manipulated to shield transplants from scorching sun?
Your garden is not a uniform environment; it's a collection of microclimates. A savvy gardener learns to read and manipulate these small-scale environmental pockets to their advantage. Raised beds, with their defined edges and accessible space, are particularly easy to modify.
Structural Shading Solutions
- Shade Cloth Tunnels: This is the most effective and controllable method. By stretching a piece of knitted or woven shade cloth over PVC or metal hoops, you create a protective tunnel.
- Percentage Matters: For vegetable seedlings, a 30-50% shade factor is ideal. It blocks enough solar radiation to prevent scorching and reduce heat stress, but still allows sufficient light for photosynthesis. A 70% or higher cloth is generally too dark for sun-loving plants like tomatoes and peppers.
- Color: White or aluminized shade cloth is often superior to black as it reflects heat away from the bed, rather than absorbing it.
- Floating Row Covers: While typically used for frost protection or insect exclusion, a lightweight floating row cover can serve as a temporary shade provider for the first few days after transplanting. It offers about 10-20% shade and also helps to create a slightly more humid environment around the plant, reducing transpiration.
Biological and Natural Shading
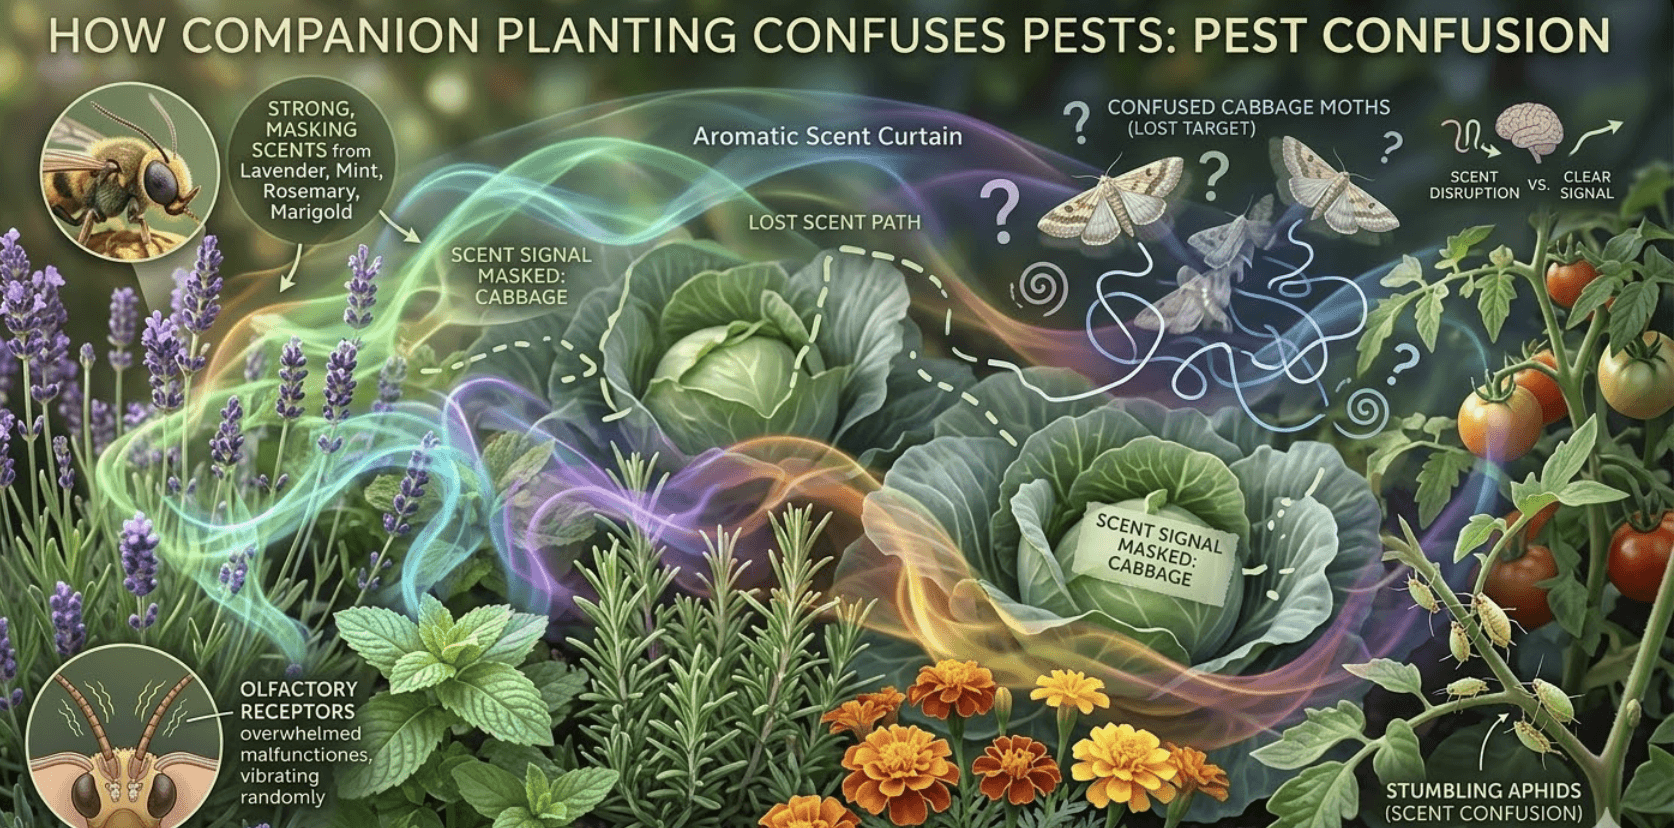
- Companion Planting for Shade: This is a strategic and space-efficient approach. Plan your garden layout to use tall, robust plants as natural sunblocks.
- Plant heat-sensitive transplants (lettuce, spinach, cilantro) on the north or east side of tall crops like corn, pole beans, or trellised cucumbers. The tall plants will shield them from the most intense afternoon sun.
- Our interactive Companion Visualizer can help you strategically plan these pairings for maximum benefit, considering both sun protection and other symbiotic relationships.
- Mulching for Soil Temperature Control: A thick layer of organic mulch is non-negotiable for summer gardening.
- Material: Light-colored mulches like clean straw, shredded leaves, or aged wood chips are excellent choices. They reflect solar radiation, keeping the soil surface cooler than bare, dark soil.
- Application: Apply a 2-4 inch (5-10 cm) layer around the base of the transplant, being careful not to pile it directly against the stem. This insulation dramatically reduces soil temperature fluctuations and conserves moisture by limiting evaporation. For a deep dive into different mulching materials, explore our guide on deep mulch systems with wood chips versus straw.
Advanced Technique: Hugelkultur Beds
For gardeners looking at long-term soil health and moisture retention, building Hugelkultur beds offers a built-in advantage against heat and drought. These beds, constructed with buried wood, act like a sponge.
- Moisture Reservoir: The decaying wood absorbs vast amounts of water during spring rains and slowly releases it back to the plant roots during dry, hot periods. This creates a stable, moist root environment.
- Thermal Mass: The large mass of the bed and its high water content give it significant thermal inertia, meaning it heats up and cools down much more slowly than a standard raised bed. This buffers the roots from extreme daily temperature swings.
For a detailed guide on construction and material calculations, see our article on advanced Hugelkultur for moisture-retaining beds.
Does soil temperature play a critical role in root-system shock and water uptake failure?
While we often focus on air temperature and sun on the leaves, the conditions underground are just as, if not more, important for a transplant's survival. The root zone is the plant's life support system, and it is highly sensitive to temperature.
The Optimal Root Zone Temperature
Most common garden vegetables, such as tomatoes, peppers, and cucumbers, have an optimal root zone temperature range of 65-80°F (18-27°C). Within this range, all metabolic processes—water absorption, nutrient uptake, and respiration—function at peak efficiency. As temperatures deviate from this range, problems arise.
- Below 55°F (13°C): Nutrient uptake, particularly of phosphorus, is severely limited. This is why early spring transplants may look purple and stunted.
- Above 85°F (29°C): Root respiration increases dramatically, burning through the plant's energy reserves. Oxygen availability in soil water decreases. Key enzymes for nutrient transport begin to denature.
- Above 95°F (35°C): Root growth stops completely for most species. The root cells may begin to die, creating entry points for pathogens.
Bare, dark soil exposed to direct summer sun can easily reach surface temperatures of 120-140°F (49-60°C), effectively cooking the delicate upper roots of a new transplant. This is why the mulching strategies discussed previously are so vital.
The Science of Root Failure in Heat
- Reduced Dissolved Oxygen: The solubility of oxygen in water decreases as temperature increases. Roots require oxygen for respiration to power the active transport of nutrients and water. Hot, waterlogged soil can become anaerobic, suffocating the roots.
- Enzymatic Shutdown: The proteins that act as channels and pumps in the root cell membranes are enzymes. Like all enzymes, they have an optimal temperature range. In excessive heat, they change shape and stop working, meaning the root cannot physically pull in minerals and water from the soil.
- Viscosity of Water: While a minor effect, the viscosity of water decreases at higher temperatures, which can slightly alter the hydraulic conductivity within the xylem (the plant's water-conducting tissues).
This knowledge is directly applicable beyond soil gardening. For instance, hydroponic growers face this challenge constantly. They know that as their nutrient solution heats up, its ability to hold dissolved oxygen plummets, creating a prime environment for root rot pathogens like Pythium. This is why advanced growers often invest in nutrient chillers, a lesson soil gardeners can learn from by focusing on keeping their root zones cool. You can learn more about this in our guide to summer hydroponics and preventing Pythium.
What biological additives or watering strategies can mitigate thermal stress during transplanting?
Beyond physical barriers and scheduling, we can use specific biological products and smart watering techniques to bolster a plant's internal resilience and provide it with the best possible start.
Biostimulants for Root Health and Stress Reduction
Think of these as a first-aid kit for your transplants. They are not fertilizers in the traditional sense but rather organic compounds that improve a plant's physiological processes.
Seaweed and Kelp Extracts: These are the gold standard for mitigating transplant shock. They are rich in:
- Cytokinins: Plant hormones that promote cell division, a key factor in new root tip generation.
- Auxins: Hormones that stimulate root initiation and elongation.
- Betaines: Compounds that help with osmotic adjustment, allowing plant cells to retain water under stress.
- Trace Minerals: A wide array of micronutrients like manganese, zinc, and boron that are essential cofactors for stress-response enzymes.
- Application: Mix a high-quality liquid kelp concentrate with water according to the label's instructions for transplants (usually a very diluted rate) and use this solution to water the seedlings in after planting.
Mycorrhizal Fungi Inoculants: This is a proactive strategy for long-term resilience. Mycorrhizae are beneficial fungi that form a symbiotic relationship with plant roots.
- How it Works: The fungal hyphae act as an incredibly fine, extensive network that reaches far beyond the plant's own roots, dramatically increasing the surface area for water and nutrient absorption (especially phosphorus).
- Application: Dust the root ball of the transplant with a powdered inoculant just before planting, ensuring the powder makes direct contact with the roots. This establishes the symbiotic relationship right from the start. For no-till gardeners, this is a cornerstone of building healthy soil ecosystems, as detailed in our guide on soil inoculation in no-till systems.
Humic and Fulvic Acids: These are complex organic molecules derived from the decomposition of organic matter (compost, leonardite). They improve soil structure, increase water retention, and chelate nutrients, making them more available to the plant.
Strategic Watering for Success
How and when you water in the days following transplanting is critical.
- The Transplant Slurry: When you dig the planting hole, fill it with water (or your kelp solution) and let it drain away once or twice. Then, fill it again and plant your seedling directly into the resulting slurry. This ensures the entire root ball is saturated and eliminates any air pockets around the roots.
- Deep and Infrequent: After the initial drench, the goal is to encourage deep root growth. Water deeply to ensure moisture penetrates 6-8 inches down, then wait until the top 2-3 inches of soil are dry before watering again. This forces the roots to grow downward in search of the stable moisture deep in the soil profile, rather than staying near the hot, dry surface.
- Timing is Everything: Water early in the morning (between 5 AM and 8 AM). This accomplishes several things:
- It minimizes evaporative loss.
- It fully hydrates the plant, filling its water reserves before the stress of the day begins.
- It allows the foliage to dry completely during the day, reducing the risk of fungal diseases.
- Drip Irrigation: If possible, use drip irrigation or soaker hoses. This method delivers water directly to the root zone with near-zero evaporative loss and keeps the foliage dry. It is the most efficient and effective way to water a summer garden.
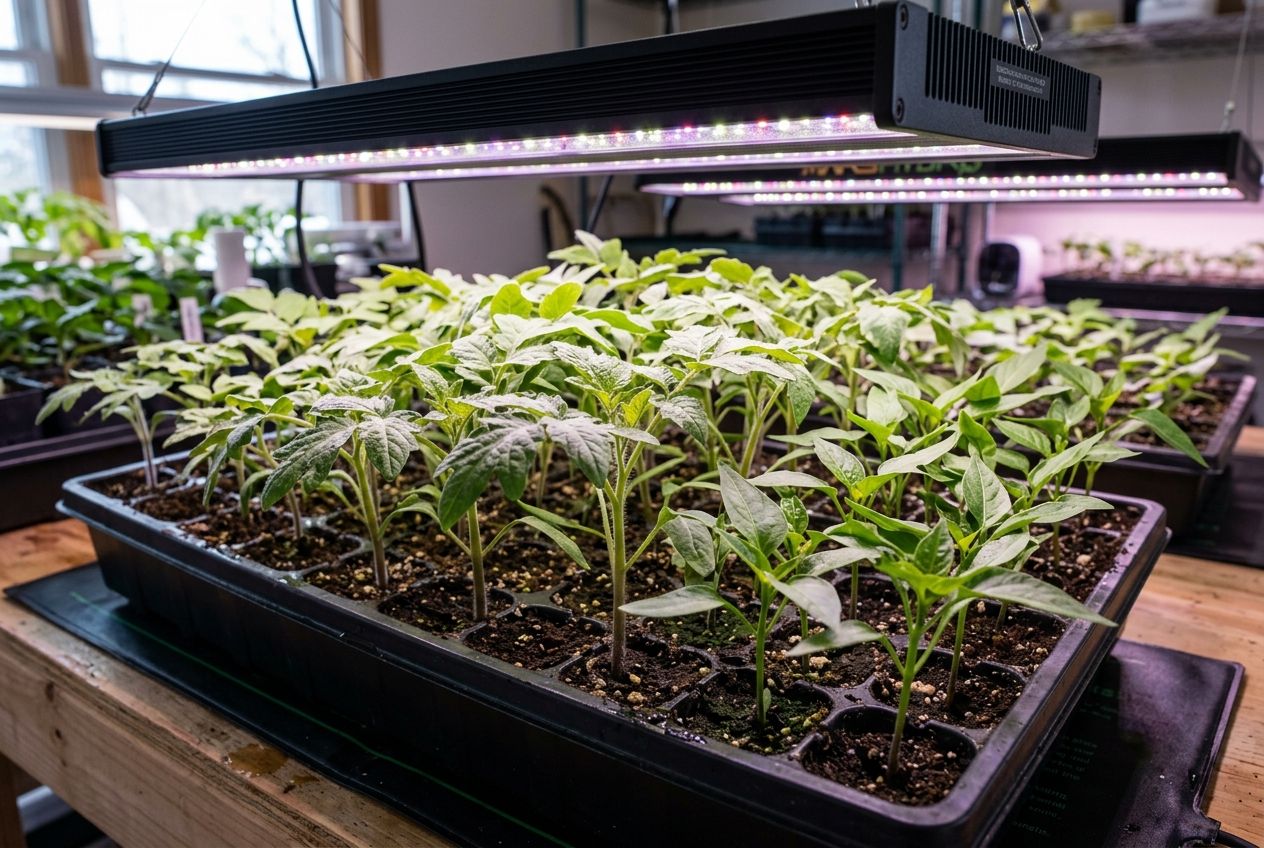
How do you nurse a severely wilted or sunburned seedling back to health after transplant shock?
Even with the best preparation, a sudden spike in temperature can catch a gardener—and their plants—off guard. Seeing a plant you've nurtured for weeks look like a wilted mess can be disheartening, but often, they can be saved with prompt and correct action.
The Emergency Triage Protocol
- SHADE, IMMEDIATELY: This is the single most important step. The plant is losing water far too quickly. You must reduce the transpiration load. Do not wait.
- Simple Solutions: Place an upside-down wicker basket, a lawn chair, or a piece of cardboard over the plant to block the sun. For multiple plants, rig up a temporary sheet or piece of shade cloth. This immediate relief is crucial.
- CHECK SOIL MOISTURE: Before reaching for the hose, stick your finger 2-3 inches into the soil next to the plant.
- If it's dry: Water deeply and slowly at the base of the plant.
- If it's moist or wet: DO NOT WATER. The problem is not a lack of water in the soil; it's the roots' inability to absorb it. Adding more water will suffocate the already-stressed roots and can lead to rot.
- WAIT AND OBSERVE: Recovery is not instantaneous. It may take the cooler temperatures of the evening and night for the plant to regain turgor. Resist the urge to constantly fuss over it. Keep it shaded for the next 2-3 days, even if it starts to look better.
- DO NOT FERTILIZE: A stressed plant is not capable of taking up nutrients. Adding fertilizer, especially synthetic granular types, can act like salt in a wound, further dehydrating and damaging the roots. Wait until you see consistent, vigorous new growth before considering a light feeding.
- MANAGE DAMAGED LEAVES:
- Wilted Leaves: If the leaves are just wilted, leave them alone. They will likely recover once the plant is rehydrated.
- Sunburned Leaves: If leaves have large white or brown dead patches, do not prune them off immediately. While the damaged parts will not recover, the leaf itself may still be partially functional and, more importantly, it provides shade to the vulnerable new growth and stems below it. Wait until the plant has produced several new, healthy leaves before trimming off the badly damaged ones.
Signs of Recovery vs. Signs of Failure
- Good Signs (Patience is Key): The first sign of recovery is not the old leaves perking up, but the emergence of new, healthy green growth from the apical meristem (the central growing point of the plant). This shows the root system has begun to function again and the plant has switched from survival mode back to growth mode.
- Bad Signs: If the main stem itself becomes limp, discolored, or mushy at the base, the plant is unlikely to recover. If the entire plant becomes crispy and brown, it is dead.
Learning to manage transplant shock is a rite of passage for every gardener. By understanding the underlying science and implementing these careful, proactive strategies, you can confidently move your seedlings into the garden, even in the face of a late spring heatwave, ensuring your season gets off to a successful and productive start. For those running a CSA, mastering this skill is essential to avoid production gaps and member disappointment, a topic we cover in our article on managing the CSA Summer Slump and crop failure.
Expert Insights & FAQs
What is the physiological difference between hardening off for cold versus late spring heat?
Hardening off for cold triggers the accumulation of solutes like sugars and proline, which act as cellular antifreeze, and alters cell membranes to maintain fluidity. In contrast, hardening for heat stimulates the production of Heat Shock Proteins (HSPs) to prevent protein denaturation, thickens the leaf's waxy cuticle to reduce water loss and reflect UV radiation, and strengthens water transport systems.
How does extreme late spring heat trigger transplant shock in young seedlings?
Extreme heat causes rapid transpiration, where water loss through leaves far exceeds the absorption capacity of the newly disturbed and damaged root system. This acute water deficit leads to a loss of turgor pressure (wilting), oxidative stress at the cellular level, and a complete shutdown of photosynthesis, culminating in the physiological crisis known as transplant shock.
What are the primary symptoms of heat-induced transplant shock and leaf sunburn?
Primary symptoms of heat-induced transplant shock include dramatic wilting of leaves and stems, even when the soil is moist. Leaf sunburn, or solarization, manifests as white, yellow, or tan bleached patches on the leaves most exposed to direct sun. Other signs include leaf curling, browning or scorching at the leaf edges, and a general failure to produce new growth.
What is the step-by-step schedule to safely harden off seedlings in high-heat conditions?
A 10- to 14-day schedule is safest for high-heat conditions. Begin with 1-2 hours in a shady, protected spot. Gradually increase the duration and introduce gentle morning sun, avoiding the intense afternoon sun until the final days. Concurrently, reduce watering frequency to encourage root expansion. This slow, steady acclimation builds resilience without overwhelming the plant.
How can raised bed microclimates be manipulated to shield transplants from scorching sun?
Manipulate raised bed microclimates by installing 30-50% shade cloth on low hoops to diffuse direct sunlight. Utilize companion planting by placing vulnerable transplants on the east side of taller, established crops like trellised tomatoes or sunflowers, which cast protective afternoon shade. Apply a thick, 2-4 inch layer of light-colored mulch like straw to reflect heat and insulate the soil.
Does soil temperature play a critical role in root-system shock and water uptake failure?
Yes, soil temperature is absolutely critical. When soil temperatures rise above 85-90°F (29-32°C), root metabolism slows dramatically. This thermal shock halts nutrient and water uptake, even if moisture is present. The roots become functionally inert, starving the plant of water and creating a lethal disconnect between the roots and the transpiring leaves.
What biological additives or watering strategies can mitigate thermal stress during transplanting?
To mitigate thermal stress, drench new transplants with a diluted solution of liquid kelp or seaweed extract. These contain natural growth hormones and micronutrients that stimulate root development and reduce shock. Employ deep, infrequent watering in the early morning to saturate the root zone and allow for deep moisture penetration before the day's heat causes excessive surface evaporation.
How do you nurse a severely wilted or sunburned seedling back to health after transplant shock?
To nurse a shocked seedling, provide immediate shade with a temporary cover like a laundry basket or shade cloth. Check soil moisture 2-3 inches deep and only water if dry, avoiding oversaturation. Do not fertilize. Leave sunburned leaves attached, as they can still provide shade for new growth. Recovery is confirmed by the emergence of new, healthy leaves from the plant's center.
Johnnie McCormick
Zone 7b/8a - North Central Alabama
Johnnie McCormick is a gardening hobbyist and the founder of My Garden Spot. Raised in north-central Alabama, his passion for gardening began in his youth. In 2008, he established a large market garden, teaching himself high-yield growing methods. In the years since, he has operated seasonal seedling sales for transplants, specializing in heirloom tomatoes, peppers, eggplants, decorative ground covers like Ajuga (Bugleweed), marigolds, nasturtiums, and fresh kitchen-window herb arrangements (basil, cilantro). Today, he gardens in the hills between Birmingham and Jasper, Alabama (Zone 7b/8a), sharing practical, community-focused gardening resources.
Verified Authoritative Citations & References
In alignment with our strict E-E-A-T research and verification guidelines, this guide cross-references data from the United States Department of Agriculture (USDA) and Cooperative Extension Service programs.
- Cornell Cooperative Extension: Home Vegetable Gardening Guide and vegetable variety recommendations. gardening.cals.cornell.edu
- Penn State Extension: Master Gardener Manual and companion planting matrices. extension.psu.edu
- Alabama Cooperative Extension System (ACES): Raised bed construction plans and regional seed planting calendars. aces.edu
- USDA NRCS: Cover crops and biological soil health guidelines. nrcs.usda.gov
Please log in to view comments.